oem-manufacturing
How Custom Temperature Sensors Are Designed for OEM Applications

Mar
Get a practical explanation of custom temperature sensor design and the buying, fit, and application details that matter before you compare products or request a quote.
What matters in practice
- Start with the real use environment: operating temperature, mounting position, humidity, vibration, and service life expectations.
- Define the electrical target early: resistance at 25°C, Beta range, tolerance, and how the control board reads the sensor.
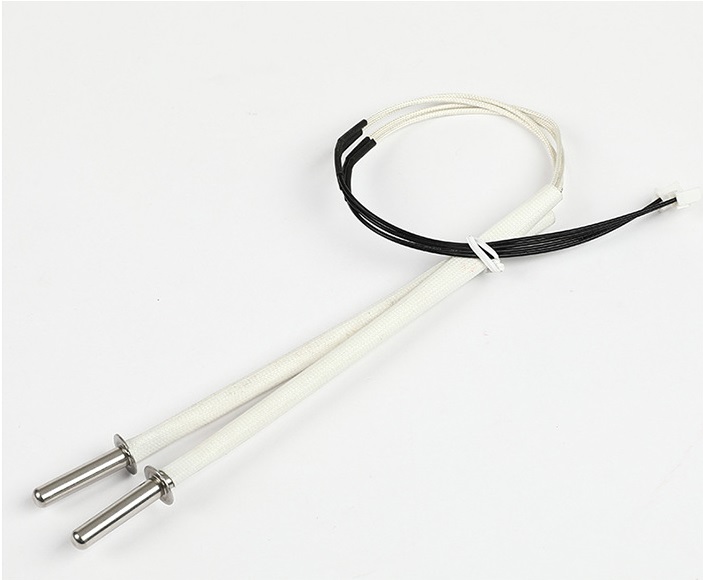
- Select housing, cable, connector, and strain relief around the appliance or equipment layout, not only around cost.
- Validate with samples before locking the BOM so the final design reflects both thermal response and assembly practicality.
Buying and design considerations
| Decision point | Why it matters |
|---|---|
| Design input | Why it matters |
| Temperature range | Sets material and sensor-curve limits |
| Mounting position | Affects response time and protection |
| Cable / connector | Drives assembly fit and reliability |
| Volume forecast | Influences cost, tooling, and packaging |
Questions buyers often ask
What is the first thing to confirm in a custom project?
The real application environment and the control-system requirement are the best starting points.
Can a standard sensor be modified into a custom one?
Often yes. A standard format can be adapted with a different cable, connector, or housing when the base sensor design is suitable.
Related route worth opening next
This solution overview helps connect the buying points in the guide above with the broader product family, fit requirements, and next-step options.
Related product
Use this option to compare fit, construction, and operating range against the points covered in the guide.
Continue exploring
When another route may suit the application better, this next step makes it easier to compare families without losing momentum.
When the specification or fit is still unclear, send the application details, connector information, or the current part reference and the team can help narrow the next step.